How to Turn a Photo Into a Talking Video
One good photo plus a script is enough to produce a video of someone speaking. Here is how the process works and how to get a natural result.
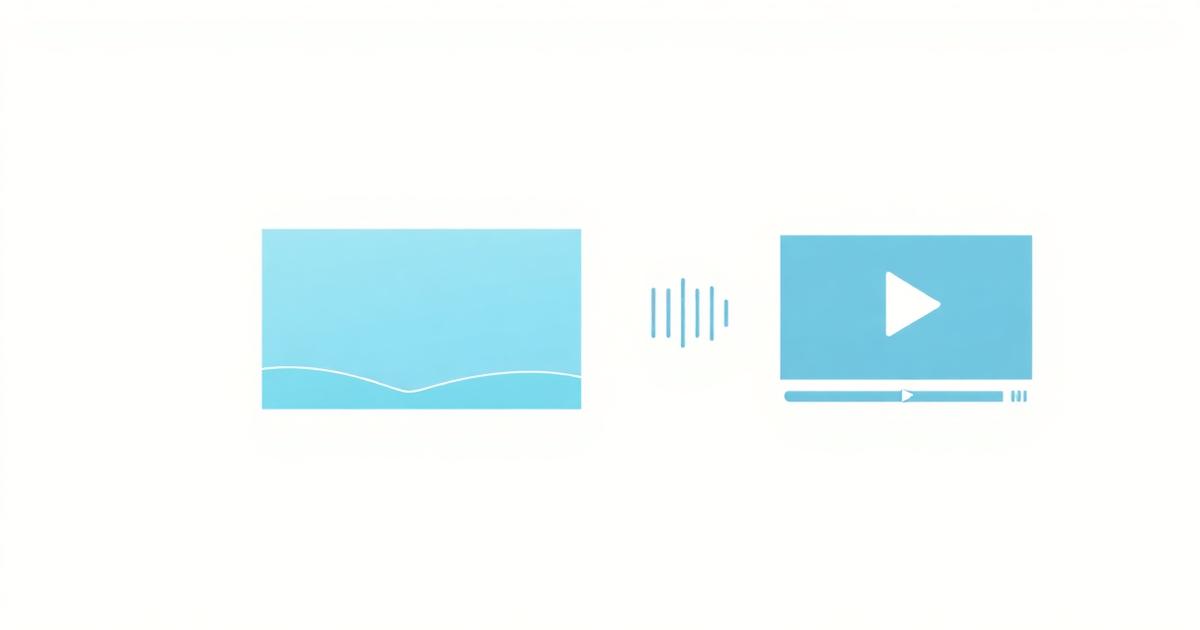
Turning a still photo into a talking video used to be a visual-effects job. Now it is a two-input process: an image and an audio track. The quality gap between a bad result and a convincing one comes down to a handful of choices.
How photo-to-video actually works
Three stages run behind the scenes:
- Face analysis — the model locates facial landmarks: mouth corners, jawline, eyes, head pose.
- Audio analysis — the speech track is broken into phonemes, the sound units that map to mouth shapes.
- Animation — the still is warped frame by frame to match those mouth shapes, with small head and eye movements added so the result does not look frozen.
Everything the model has to invent is a chance to look wrong. That is why the input photo matters so much.
Choosing the right photo
Do:
- Use a front-facing or slightly angled portrait.
- Frame chest-up with visible shoulders — the shoulders sell the head motion.
- Choose neutral or lightly smiling expressions with the mouth closed or barely open.
- Use even lighting and a clean, uncluttered background.
Avoid:
- Extreme angles or profile shots.
- Wide grins showing full teeth — the model has to guess what is behind them.
- Hands near the face.
- Motion blur or low resolution.
- Sunglasses and anything covering the mouth.
Getting the audio right
You have three options, in ascending order of quality:
- Text-to-speech with a stock voice. Fast, free-feeling, generic.
- A recorded voiceover. Authentic, but you are back to recording.
- A cloned copy of your own voice. Type the script, hear yourself. This is the option that makes the result feel like footage rather than a demo.
Whatever the source, record or generate in a quiet environment. Background hiss makes lipsync models produce odd mouth movements between words.
Making it look natural
A few practical rules separate believable output from uncanny output:
- Keep clips short. Under 60 seconds per shot. Long single takes accumulate small errors.
- Do not over-animate. Subtle head movement reads as real; exaggerated motion reads as fake.
- Match energy to the photo. An excited script over a deadpan portrait feels mismatched.
- Add captions. They anchor the viewer''s attention and mask minor sync imperfections.
- Cut away occasionally. A B-roll insert every few seconds keeps attention on the message.
When to use a still photo vs a full clone
Animating a single photo is perfect for one-off videos, testing an idea, or animating an image you already have.
A full clone is better once you are producing regularly: it gives you consistent framing, multiple outfits and backgrounds, and a face that stays recognisably the same across every video. If you plan to publish weekly, build the clone.
Legal and ethical basics
Animate photos of yourself, or of people who have given clear permission. Do not animate public figures or images scraped from the internet, and disclose synthetic presenters where a viewer might otherwise be misled. This is not just etiquette — platform policies increasingly require it.
A realistic quality checklist
Before you publish, watch your clip on a phone at normal speed and ask:
- Does the mouth open and close on the right syllables?
- Does the head move at all, and does that motion feel human?
- Do the eyes blink?
- Does the voice match the face''s apparent age and energy?
- Would you scroll past it, or stop?
If the answer to the last question is "stop", the technical imperfections almost never matter.
Frequently asked questions
About Matt Hansen
Matt Hansen writes about AI video creation at Lyler, where creators turn a single selfie into talking-head videos.