How to Create an AI Avatar of Yourself (Photo Guide)
The photos you upload decide the quality of every video you ever make. Here is exactly how to shoot them and what to avoid.
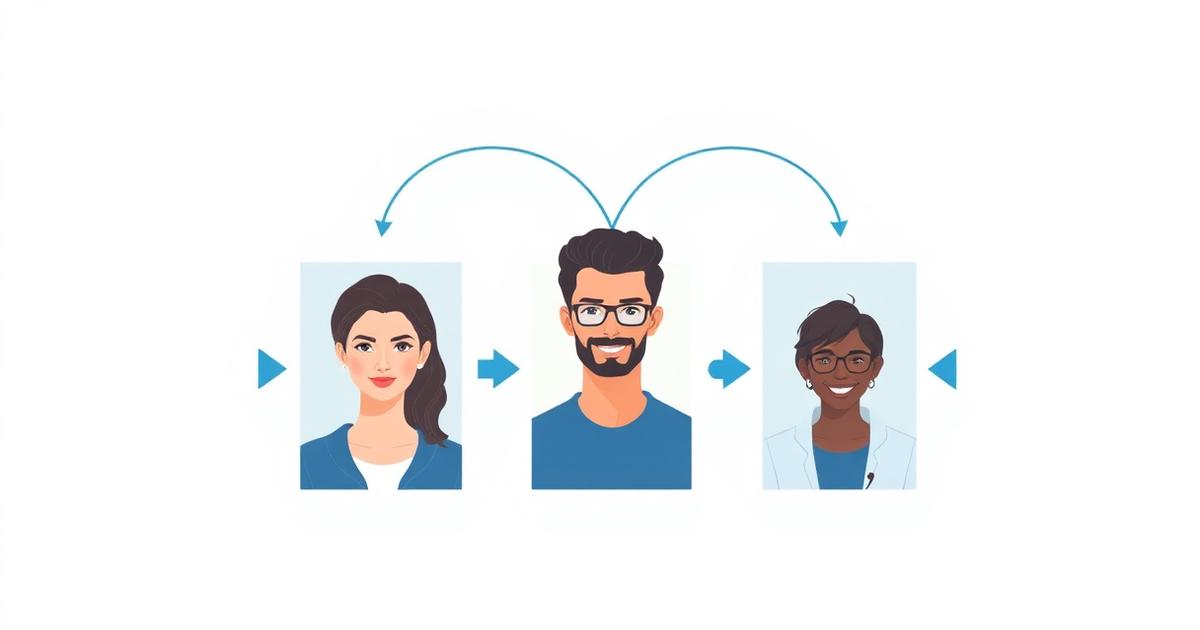
Your AI avatar is only as good as the photos you feed it. Ten minutes of care at the upload stage is worth more than any prompt you will ever write afterwards.
What makes a good reference photo
Light
Soft, even, front-facing light. A window at midday is ideal. Avoid:
- Overhead ceiling lights that drop shadows into your eye sockets.
- Backlighting that turns your face into a silhouette.
- Mixed colour temperatures — daylight plus a warm lamp confuses skin tone.
Framing
Shoot chest-up or head-and-shoulders. Leave margin above your head. Talking-head models work with the region around the face, so tight crops that clip your chin or forehead cost you quality.
Variety
Include several angles and expressions:
- Straight-on, neutral
- Straight-on, smiling
- Slight left turn
- Slight right turn
- One three-quarter angle
Clarity
Sharp focus, no motion blur, no heavy beauty filters. Filters smooth away the exact detail the model needs to make you look like you. Remove sunglasses and hats. If you always wear glasses, keep them — consistency matters more than clarity here.
What to wear
Pick something you would be happy to appear in for the next few months, because it becomes your default look. Solid colours read better than fine patterns, which can shimmer during rendering. Avoid logos you do not own the rights to.
Backgrounds
A plain wall is the safest source background. It gives the model clean edges to work with, and you can generate scenes and backgrounds afterwards without fighting a busy original.
Building the avatar
Once your photos are in, a good pipeline does two things:
- Generates a character sheet — your face from multiple angles and expressions in one consistent style. This is the reference that keeps you looking like the same person in every future video.
- Generates a talking-head avatar — a chest-up medium close-up, correctly framed for lipsync, with enough headroom that motion does not clip.
Expect this to take a few minutes. It only happens once.
Generating looks and scenes
With the avatar built, you can produce variations without new photos: different outfits, offices, studios, outdoor settings, lighting moods. Two rules keep these usable:
- Describe, do not over-specify. "Seated in a bright modern office, soft window light, wearing a navy sweater" beats a paragraph of camera jargon.
- Keep the face untouched. Change wardrobe and environment, not facial structure — that is what breaks recognisability.
Common mistakes
Old photos. If you have changed hair, weight or facial hair since, the clone will not match your other content.
Group photos cropped down. Low effective resolution on the face produces mushy output.
Screenshots. Compression artifacts get learned as texture.
One single photo. It can work, but variety across angles reliably produces a better, more stable avatar.
Uploading enormous files. Very large images often fail validation. Sensibly sized, high-quality JPEGs beat 30MB originals.
How to tell if your avatar is good enough
Generate one short test video before you commit to a batch. Watch it at the size your audience will: on a phone, muted, with captions. If it reads as you at a glance and the mouth tracks the words, you are ready to produce. If something feels off, it is almost always the source photos — reshoot them rather than fighting it in prompts.
Keeping it fresh
Rebuild your avatar when your appearance meaningfully changes, and keep a small library of looks — one professional, one casual, one branded — so your feed has visual variety without any new photography.
Frequently asked questions
About Matt Hansen
Matt Hansen writes about AI video creation at Lyler, where creators turn a single selfie into talking-head videos.